Tutorials
Figma to Webflow: The Expert Checklist for a Clean, Scalable Build
Your designer delivered a beautiful Figma file. Now someone needs to turn it into a Webflow site that actually works - performs well, scales with your content team, integrates with your CRM, and holds together six months after launch when three different people have edited it. This is where most B2B SaaS teams discover that Figma to Webflow is not a handoff.
It’s an engineering and architecture problem. The Figma file tells you what the site should look like. It says nothing about how the CMS should be structured, how components should behave across breakpoints, how the design system should translate into Webflow classes, or how the site should be maintained after the agency relationship ends.
This checklist is not written for developers. It’s written for the marketing leaders, brand directors, and growth teams commissioning these builds - so you know what questions to ask, what quality looks like, and what separates a site that ages with your progress versus the one that creates problems in three months.
Where Most Figma to Webflow Builds Go Wrong
The gap between a polished Figma file and a production-ready Webflow site is wider than it looks. Figma is a design tool. Webflow is a development environment with real constraints: browser rendering, CMS architecture, responsive behaviour, performance budgets, accessibility standards, and maintainability requirements that simply don’t exist in a design file.
The most common failure modes are not cosmetic. They are structural:
Every one of these problems is preventable. None of them get fixed after launch without significant rework. The time to address them is before a single element is placed on the canvas.
The Professional Build Process, Step by Step
A professional Figma to Webflow build follows a structured sequence. Each step builds on the one before it. Skipping any of them is where the problems begin.
Step 1: Figma File Audit
The first question any serious Webflow expert should ask is not “when do we start building?” - it’s “is this Figma file ready to build from?”
Most are not - and that is not a criticism of the designer. Figma files are optimized for communicating visual intent, not for engineering handoff. A file that works perfectly as a design reference needs translation before it becomes a build-ready specification.
A proper Figma audit covers:
Component inventory: Every repeating element - cards, buttons, navigation states, form fields, testimonial blocks, pricing rows - needs to be identified and mapped to a Webflow component or Symbol. If the Figma file has 12 slightly different button variants, those need to be rationalized before build starts, not after.
Design system consistency check: Are all type styles using consistent scales? Are spacing values consistent or arbitrary? Are colors using named styles or hardcoded hex values? Webflow’s class system works best when built on top of a coherent design system.
CMS vs static page decisions: Which pages contain content that will be edited regularly? Blog posts and case studies are obvious CMS candidates, but pricing sections, team pages, integration directories, and feature lists often need to be CMS-driven too. This decision shapes the entire build architecture.
Responsive specification review: Does the Figma file include mobile and tablet frames for every section? Wherever the spec is silent on intermediate breakpoints, a judgement call gets made. Better to make those calls deliberately before build, not reactively during it.
Custom interaction inventory: Every animation, hover state, scroll trigger, and micro-interaction needs to be assessed for Webflow. Some are trivial. Some require custom JavaScript. Knowing which is which before committing to a scope prevents surprises mid-build.
Step 2: CSS Architecture
If the Figma audit is about understanding what needs to be built, the CSS architecture decision is about how it will be built and whether it will be maintainable by people who were not in the room when it was created.
This is the single most important technical decision in a Webflow build, and it's the one most often made poorly by teams who are not Webflow specialists.
Webflow is powerful but intentionally unopinionated about how you structure your classes - it doesn't enforce a naming convention, it simply requires that whatever system you choose works within Webflow's concept of single classes and combo classes. You can build anything with it.
You can also create a site where classes are named randomly, nested inconsistently, and impossible for anyone else to edit without breaking something. This happens constantly on sites built by generalist developers or non-specialist agencies.
The most widely used convention in professional Webflow builds is Client-First by Finsweet: a structured naming convention and CSS framework designed specifically for Webflow. It creates consistent, predictable class hierarchies that any trained Webflow developer can understand and maintain.
That said, Client-First is not the only valid approach - what matters is that the team you work with uses a documented, consistent system that works within Webflow's single class and combo class structure.
What this means practically for a marketing or growth team:
- A site built on a documented system like Lumos can be handed to any Webflow-trained developer for ongoing maintenance, without a lengthy onboarding process.
- Content editors in the Webflow Editor can make changes without accidentally breaking layouts.
- New pages and sections can be added by following established patterns rather than reverse-engineering existing ones.
- The codebase remains readable and extensible 18 months after launch.
Ask any agency or developer you are evaluating whether they use Lumos or a documented equivalent. If the answer is vague or dismissive, treat it as a red flag.
Step 3: CMS Architecture
The Webflow CMS is where Figma-to-Webflow builds most commonly diverge from what a B2B SaaS marketing team actually needs. A CMS built to match a Figma layout is a CMS built for the launch state of the site. It’s rarely built for the reality of operating the site six months later.
The right approach is to start with the content team’s editorial workflow and work backwards to the collection structure - not to look at the Figma file and map collections to page sections.
A well-architected CMS includes:
Each collection needs more than content fields. Every CMS template needs a meta title field, a meta description field, a canonical URL field, and an OG image field. These are not optional. They are what makes Webflow CMS content SEO-ready rather than just visible.
The most common mistake: creating one large “Blog” collection and putting everything into it. Separate content types with separate search intent belong in separate collections with separate URL structures and separate templates.
Step 4: Component Build
This is the phase most clients never see directly but feel immediately when something needs to change.
In Webflow, components are globally reusable components. Change the component once and it updates everywhere it’s used. A site built without Symbols, or with Symbols used inconsistently, requires manual updates across every instance of a component when something changes. At the scale a growing SaaS site operates, this becomes a genuine bottleneck.
Every element that appears more than twice on a site should be a component:
- Navigation (desktop and mobile states)
- Footer
- CTAs (primary, secondary, inline variants)
- Card components (blog card, case study card, team card)
- Testimonial blocks
- Pricing tiers
- Feature rows
Component properties take this further by allowing local overrides of content within a shared component, or switching between variants, without breaking the global structure. This means a single card component can serve multiple contexts - different copy, different images, different states - while still updating globally when the underlying design changes.
Webflow's Variables system also allows global design tokens like colors, typography scales, spacing values, to be managed centrally and updated site-wide. A build that uses Variables correctly means a brand color update takes 30 seconds, not three to find and replace.
Step 5: Custom Code
Webflow’s visual builder handles the majority of what a B2B SaaS marketing site needs. But some interactions, integrations, and behaviors require custom JavaScript or CSS. This is not a problem. Custom code is a legitimate and powerful capability in Webflow. The problem is custom code that is undocumented, unscoped, and untested.
Some real examples of custom code:
- Advanced CMS filtering (often via Finsweet CMS Filter attributes, which is a cleaner solution than direct JS).
- Cookie consent management and GTM consent mode configuration.
- Third-party embed customization (chat widgets, demo booking tools, video players).
- Complex animations beyond Webflow Interactions’ native capabilities.
- Conditional content visibility based on URL parameters or UTM values.
The standard to hold any development partner to:
- Every custom code block should be commented with what it does, why it exists, and what it touches.
- External scripts should be loaded asynchronously and tested for Core Web Vitals impact.
- Custom code should be scoped to the pages where it is needed, not loaded globally unless required.
- Any JS that interacts with CMS content should have a clear fallback if the CMS structure changes.
- CSS and JavaScript should not be mixed in one embed so the CSS renders directly in the designer and not just on the published page.
Custom code added without documentation is technical debt that arrives immediately. Six months later, when a developer who did not write it needs to modify it, the cost of that undocumented work becomes very clear.
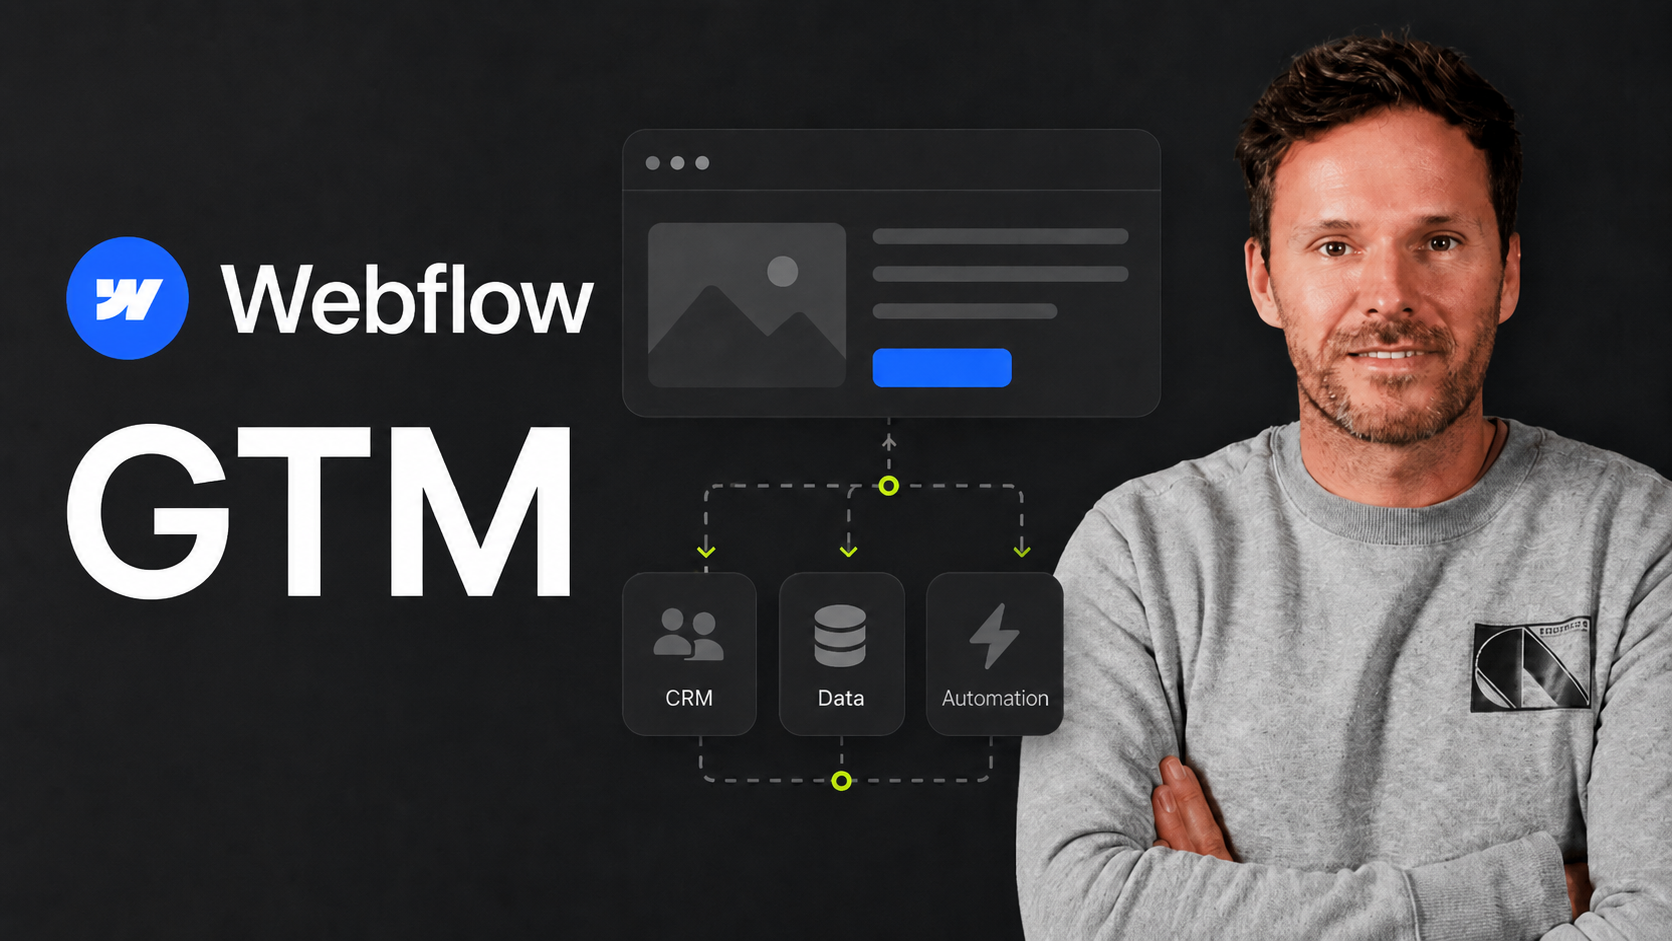
Step 6: Integration and Tracking Setup
A Webflow site without a properly configured GTM container, verified analytics events, and CRM integration is not a marketing asset. It’s just a brochure, a portfolio. For B2B SaaS teams where every form submission has pipeline value, the tracking and integration layer deserves the same focus as the visual build.
Integration checklist:
- GTM container installed and publishing correctly.
- GA4 configured with key events (form submit, CTA click, scroll depth, demo request).
- HubSpot or CRM tracking code active and form submissions routing to the right pipeline.
- Conversion events verified in GTM preview mode before launch.
- Cookie consent tool installed and integrated with GTM consent mode.
- Webflow forms connected to CRM via native integration or Zapier.
- UTM parameter pass-through verified on all lead capture forms.
One frequently missed item: UTM parameter pass-through. If your paid campaigns send traffic with UTM parameters and your forms don’t capture and pass those values to your CRM, you cannot attribute revenue to campaigns. This is actually a 20-minute configuration that many builds ship without.
Step 7: Pre-Launch QA
The build is done. Before a single DNS record changes, the following needs to be verified systematically.
Technical QA:
- Screaming Frog crawl of staging site - no 404s, no missing meta titles, no duplicate H1s.
- PageSpeed Insights on mobile and desktop - LCP under 2.5s, CLS under 0.1.
- All Webflow SEO settings confirmed: sitemap enabled, robots.txt reviewed, noindex off on all live pages.
- Canonical tags set correctly on all CMS template pages.
- All forms tested end-to-end with a real submission.
- All external links opening in new tabs.
- All images have descriptive alt text.
Content and design QA:
- All pages reviewed at desktop (1440px), tablet (768px), and mobile (375px).
- CMS template pages tested with edge-case content (very long titles, missing optional fields).
- All animations and interactions tested across Chrome, Safari, and Firefox.
The mobile test is not optional. More than half of B2B SaaS organic traffic arrives on mobile. A layout that looks correct in Webflow’s designer preview at 375px is not the same as a layout tested on a real device. Both checks are required.
Author

Felix Brodbeck is the founder of Designbase GmbH, UI designer and Webflow developer. He regularly shares his content on LinkedIn, YouTube, and this blog.

Felix Brodbeck
Founder @ Designbase
Your Chance
Your Certified Webflow Premium Partner
- Unique and scalable UI design
- Professional Webflow development
- Reliable, long-term support
What This Build Actually Requires
Going through this checklist again, the pattern is clear: a professional Figma to Webflow build is not a task that can be handed to a generalist developer, a freelancer working from a template, or an agency that builds across ten different platforms.
It requires someone who understands Webflow’s CMS architecture deeply enough to design collections around editorial workflow. It requires a developer who builds in Webflow by default. It requires a team that thinks about post-launch maintainability from day one, not as an afterthought.
For B2B SaaS and scale-up teams, the cost of a build done poorly is not just the rework. It’s the six months of marketing velocity lost while the team waits for fixes, the SEO performance lost to a slow or poorly structured site, and the pipeline lost to broken forms and tracking gaps.
That is exactly the kind of work Designbase specializes in. We work exclusively in Webflow with B2B SaaS and growth-stage companies, and every build follows the architecture and quality standards described in this checklist. If you are planning a Figma to Webflow project and want to make sure it’s done right from day one, get in touch.
Frequently Asked Questions
Can I hand a Figma file directly to a developer and expect a clean build?
You can, yes, but the quality of the output depends entirely on what the developer does before they start building. A professional Webflow expert will audit the Figma file, identify CMS vs static content decisions, rationalize the component library, and establish a CSS architecture before placing a single element. A developer who opens Webflow and starts building directly from the file will produce a site that looks right at launch and creates problems within months.
What is Client-First and why does it matter for my site?
Client-First is a CSS naming convention and framework built specifically for Webflow by Finsweet. It creates a consistent, documented class structure that any trained Webflow developer can understand and maintain. Sites built on Client-First are easier to hand off, easier to update, and more resistant to breaking when content editors make changes. It’s the professional standard for Webflow builds and a reliable quality signal when evaluating an agency or developer.
How long does a Figma to Webflow build take for a B2B SaaS site?
For a typical B2B SaaS marketing site of 10 to 25 pages with a CMS, integrations, and a full responsive build, expect 3 to 5 weeks. Sites with complex animations, large CMS libraries, or simultaneous design work run longer. The phases that add time are the Figma audit, CMS architecture design, and QA - not the visual build itself. Rushing these phases is the most reliable way to create post-launch problems.
Does Webflow need upgrades with custom code?
Sometimes yes, sometimes it’s not even needed. Webflow’s native capabilities cover the majority of what a B2B SaaS marketing site needs, including animations, CMS-driven content, forms, and integrations. Custom code is typically used for advanced CMS filtering, consent mode configuration, complex third-party embeds, and certain animation behaviors. The key is that any custom code added should be documented, scoped correctly, and tested for performance impact before launch.
What’s the difference between a Webflow template and a custom build?
A template build starts from a pre-built Webflow template and customizes it. It’s way faster and cheaper, and appropriate for early-stage companies that need to move quickly. A custom build starts from your Figma designs and builds every component, collection, and interaction to spec. It’s the right choice for companies where the website is a meaningful part of brand positioning and pipeline generation - where differentiation matters and a template’s structural constraints would limit what the marketing team can do. For most B2B SaaS companies at Series A and beyond, a custom build is the correct investment.
More Content