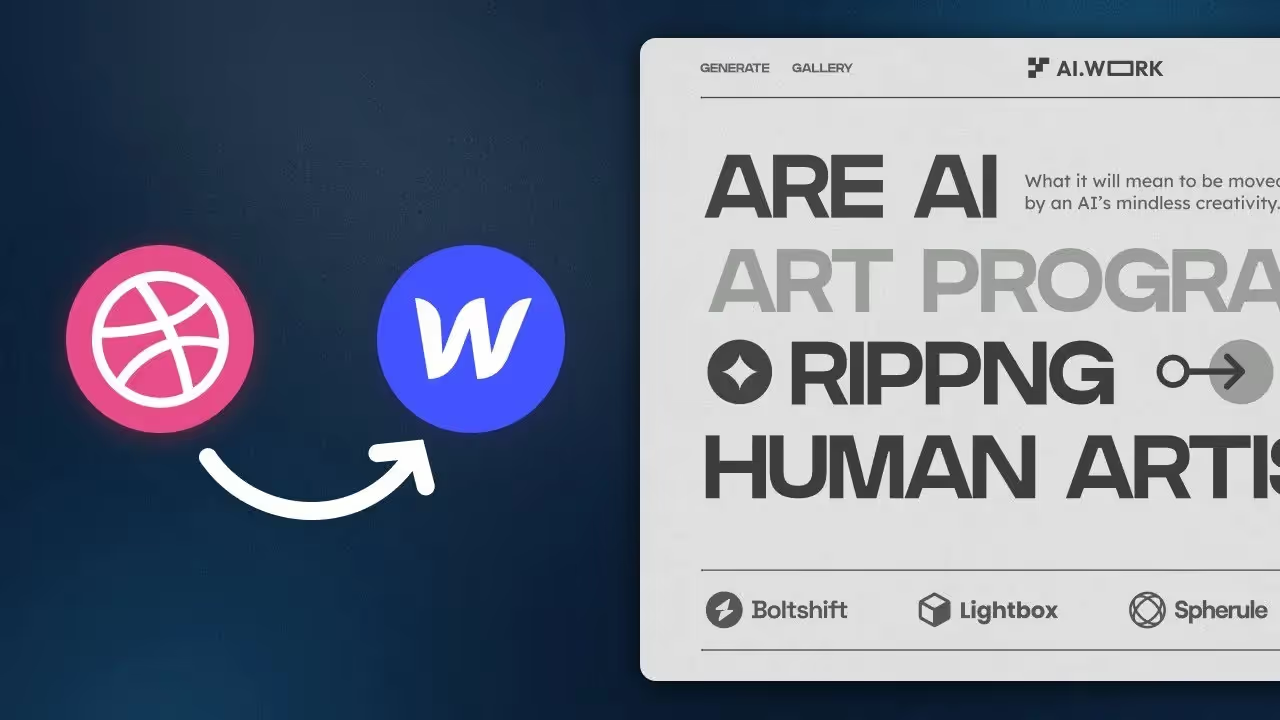
An animated hero section can do two things at once: communicate the offer faster and make the page feel more deliberate. For technical marketing teams, the goal is not to “add motion” for its own sake. The goal is to build a hero that improves clarity, supports conversion, and still feels easy to maintain inside Webflow.
This guide is designed for a specific audience with tips and best practices: in-house marketing leaders, growth teams, and web teams at established businesses and tech companies. The focus is practical implementation, reusable patterns, and modern Webflow capabilities, especially the GSAP-powered Interactions system released in 2026.
Why Animated Heroes Work
A strong hero section is the first decision point on the page. It should communicate value quickly, reduce uncertainty, and create enough momentum for the next action. For example, a 2026 Webflow-focused analysis recommends leading with a single clear offer, a short supporting sentence, and a CTA that is visible without scrolling on most desktop viewports.
Motion can support that job in three ways. First, it helps establish hierarchy by revealing the most important content first. Second, it helps structure attention, especially when there’s a product screenshot, a statistic, or a UI preview. Third, it can create a premium feel when it’s restrained and purposeful rather than decorative.
But you have to be cautious when it comes to performance. The more scripts, layers, and media you add, the less the hero behaves like a lightweight first impression and the more it behaves like a mini application. That’s why the best modern hero sections are built with motion discipline, not just visual ambition.
Hero Patterns to Choose From
Before opening Webflow, choose the type of hero you are building. Technical marketing teams usually need one of five patterns.
If your team has one rule, make it this: the hero should always earn the animation through the message. The motion should always clarify the point, not replace it.
Planning the Hero Content
Start with content before animation. Follow this checklist:
- One sentence for the offer.
- One sentence for the audience or problem.
- One CTA.
- One visual proof element.
- One secondary trust signal, such as a customer logo, stat, or certification.
You have about three seconds to answer three questions in your hero section: what does this site offer, who is it for, and why should you care. If any one of those is unclear, you’ll bounce before the rest of the page even gets read - which is why getting the message right matters more than any visual flourish, and why it needs to work before the motion does.
A practical example:
- Headline: “Build faster campaigns without rebuilding your site every quarter”
- Subheadline: “For in-house marketing teams that need design control, publish speed, and a system they can actually maintain”
- CTA: “Book a strategy call”
- Proof line: “Trusted by teams shipping across multiple markets”
Set Up the Layout in Webflow
The cleanest hero setup is usually a two column desktop layout that collapses into a single column on mobile. One column holds copy and CTA, the other holds the visual, stat, or motion layer.
Recommended Structure
Create the hero as a reusable component if the structure will appear on more than one page. Webflow’s 2026 Interactions system supports component-scoped interactions, which means motion can travel with the component instead of being rebuilt on every page.
Build the Base Section
Use a section element as the outer shell and give it a minimum height that feels intentional without forcing awkward cropping. On large screens, the hero should usually fill between 70 and 100 viewport height units depending on the amount of supporting copy and the size of the visual.
Use overflow hidden on the section only if your animation needs it. Otherwise, let the layout breathe. A common mistake is masking poor composition with hidden overflow. That may hide artifacts, but it also hides problems you should solve in the structure.
Build the Copy Block
A high-performing hero copy block is simple but highly structured.
Copy Hierarchy
- Overline or eyebrow label.
- Headline.
- Supporting sentence.
- CTA group.
- Proof line or trust signal.
The headline should be the visual anchor. In a recent Webflow hero analysis, the strongest headlines are short, direct, and specific, often between 6 and 12 words. The subheadline should add context, not repeat the headline.
Copy Formatting Tips
- Keep the headline readable in a single scan.
- Keep the subheadline under control, especially on desktop.
- Use a CTA label that describes action, not a vague promise.
- Add one trust line if the audience is skeptical or procurement-heavy.
For technical marketing teams, a useful practical approach is: if the copy needs more than two supporting sentences before the CTA, the offer is probably too vague for the hero.
Build the Visual Layer
The visual should serve one of three jobs: show the product, show the outcome, or signal trust. If it does none of those, it’s probably decorative overhead.
Good Visual Choices
Webflow’s Rive integration is especially useful because it allows animation state, colors, and other properties to be controlled from the Interactions timeline. That means motion can be sequenced alongside other effects, rather than embedded as a separate black box.
Animate the Hero in Webflow
With the base structure in place, the next step is to animate it in a way that feels modern and maintainable. Webflow’s newer GSAP-powered Interactions system is the right starting point because it gives teams visual control while unlocking more flexible sequencing, reusable motion, and component-level behavior.
Motion Principles to Follow
- Animate transform and opacity first.
- Keep entrance motion short.
- Use stagger only where it improves readability.
- Avoid motion that changes layout after the page has loaded.
- Keep loops subtle and purposeful.
Motion is the final dynamic layer that brings a brand to life - interactions respond to the visitor and should help ease them through the experience, not overwhelm them. That’s the right principle for hero animation too.
A Practical Animation Sequence
A reliable hero sequence for technical marketing teams:
- Fade and slide in the eyebrow label.
- Reveal the headline with a short stagger or line-by-line effect.
- Bring in the subheadline.
- Animate the CTA last.
- Reveal the visual layer with a slight delay.
- Add one subtle repeat motion if needed, such as a soft float or pulse.
This order helps the eye understand the message before the visual decorates it. It also makes the hero feel intentional rather than busy.
In Webflow, Build It Like This
- Select the element you want to animate.
- Open the Interactions panel.
- Choose a trigger like page load or scroll into view.
- Add an action for the eyebrow, headline, subheadline, CTA, and visual.
- Use short durations and slight delays between elements.
- Test the sequence on desktop and mobile.
- Save the motion as a reusable pattern if the hero will be repeated.
Webflow’s 2026 Interactions update also supports component-scoped interactions and shared libraries, which is ideal for teams that want motion to scale across campaigns without redoing the work every time.
Accessibility and Reduced Motion
An animated hero should still be comfortable for people who prefer less motion. For example, the prefers-reduced-motion exists for users who set their operating system to minimize animation, and it recommends respecting that preference.
What to Do
- Reduce or remove non-essential movement.
- Keep the content hierarchy intact without relying on animation.
- Make sure CTA and headline are still strong in a static state.
- Avoid motion-only explanations.
- Test the page with reduced motion enabled.
If a hero only works because it animates, the message is too weak.
Why You Should Treat It as a System
For technical marketing leaders, an animated hero is not just a design flourish. It’s a system: copy, structure, motion, performance, accessibility, and governance working together. Webflow’s 2026 GSAP-powered Interactions and component-scoped motion make that system much easier to build and scale than it used to be in the past.
The best hero sections are not the most animated ones. They are the ones that make the offer obvious, the page feels premium, and the team feels confident shipping and maintaining the result over time.
FAQs
Create the layout first, then use Interactions to animate the eyebrow, headline, supporting text, CTA, and visual layer in sequence.
Choose a product screenshot, stat-led, editorial split, trust-first, or story-driven hero based on the page’s purpose and audience.
Include one clear offer, supporting context, one CTA, one visual proof element, and an optional trust signal.
It should establish hierarchy, guide attention, or clarify the product or outcome - not distract from the message.
Keep the content understandable without motion and reduce or disable non-essential animation for users with prefers-reduced-motion enabled.