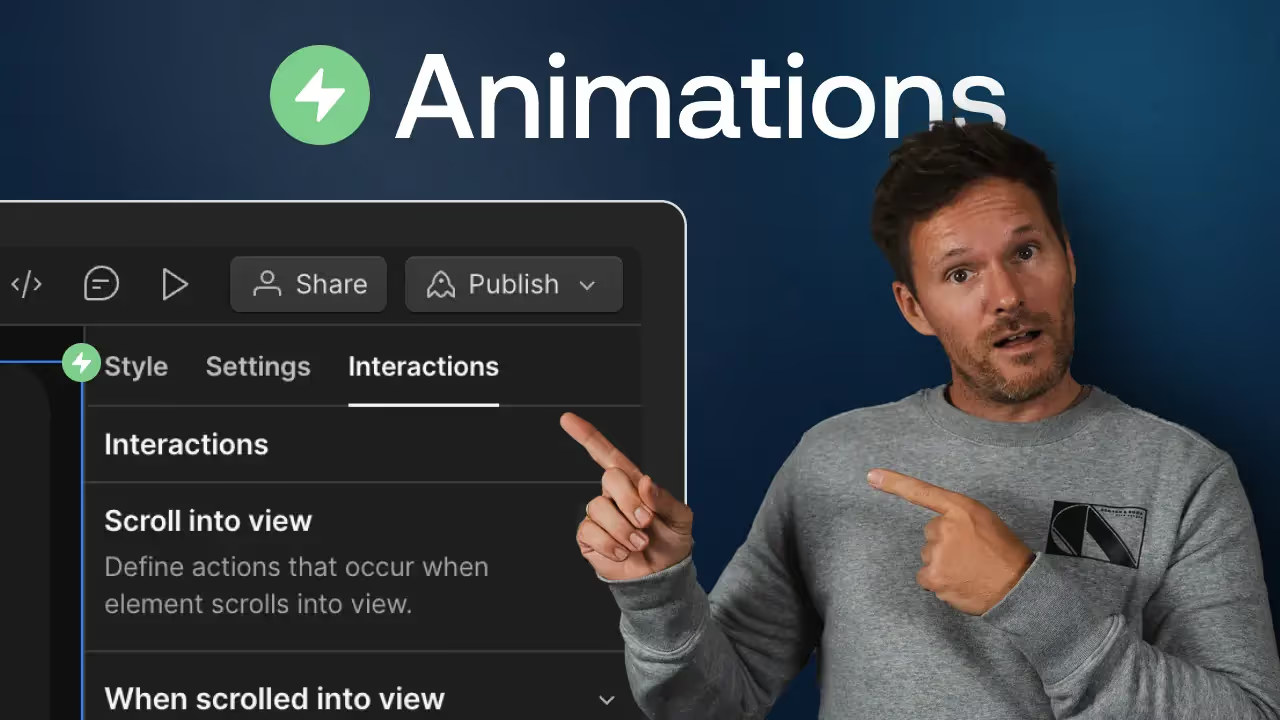
Webflow scroll animations let you reveal content and move images as visitors scroll through a page. In this video tutorial (you can also watch it directly here in the article), I explain the basics of Webflow Interactions and show how to build a text reveal and an image parallax effect.
What Are the Basics of Webflow Animations?
Webflow animations use a trigger, an action, and a target.
The trigger starts the interaction. It can be a click, hover, page load, scroll into view, or continuous scrolling.
The action changes the target. It can move, fade, scale, rotate, or animate another supported property.
The target is the element receiving the action. It can be the trigger itself, another element, or every element using the same class.
I start with these three parts in the video before building the scroll reveal and parallax examples.
Where Do You Create Webflow Interactions?
You create Webflow interactions in the Interactions panel after selecting an element in the Designer.
For the current Webflow interface, open the Versions menu at the bottom of the panel and choose Interactions with GSAP (new) for the newer workflow. Classic Interactions is still available for existing projects and simpler effects.
The GSAP workflow adds a more advanced visual timeline and supports features like ScrollTrigger, SplitText, staggers, and reusable animation controls. You don't need those features for a basic reveal-on-scroll or parallax effect.
How Do You Create a Text Reveal on Scroll?
A text reveal animation starts when the text enters the viewport.
Select the text element, open Interactions, and add an Element Trigger with Scroll Into View.
Set the initial state:
- Opacity: 0%
- Y position: slightly below the final position
Then add the final state:
- Opacity: 100%
- Y position: 0
Use a short duration and smooth easing. The animation should introduce the text without delaying access to it.
In my video tutorial, I apply the interaction to a class so the same reveal can be reused on other text elements.
How Do You Create an Image Parallax Effect?
A parallax effect moves an image at a different speed from the surrounding content as the visitor scrolls.
Place the image inside a wrapper with controlled overflow, select the image, and add a While Scrolling in View trigger.
In the animation timeline, change the image's vertical position as it moves through the viewport. Scale the image slightly before adding the movement so its edges do not become visible.
Add smoothing if the movement feels too abrupt, then apply the interaction to a class if you want to reuse it on other images.
Keep the movement subtle and test it on mobile. Parallax should add depth without creating layout problems or distracting from the content.
What Can Webflow Interactions Do?
Webflow Interactions let you build scroll, hover, click, page-load, and mouse-movement animations visually, without writing custom JavaScript. You can combine triggers, timelines, reusable actions, and precise element targeting to control how content moves and responds.
The current Interactions with GSAP workflow includes:
- A horizontal timeline with precise controls.
- Scroll-based animations with ScrollTrigger.
- SplitText for animating lines, words, or characters.
- Staggered animations for groups of elements.
- Reusable interactions and custom action presets.
- Targeting by class, ID, custom attribute, or query selector.
- Animation of Webflow variables and design tokens.
- Support for connected motion across components and design systems.
You can also scrub, repeat, stagger, and fine-tune animations directly in the visual timeline. This makes it possible to create coordinated page-load sequences, text reveals, scroll-based transitions, parallax effects, and more advanced motion systems without manually writing GSAP code.
For a basic reveal-on-scroll or parallax animation, you only need the trigger, target, and timeline controls. The advanced features become useful when several elements need to move together or when animation values should stay connected to a reusable design system.
For more advanced examples of motion, check out our guide on creating an animated hero section in Webflow.
How Should You Use Webflow Animations?
Use Webflow animations when they help visitors notice content, understand a transition, or follow the structure of the page.
Reveal-on-scroll effects work well for headings, images, and cards. Parallax works well for selected hero images and visual transitions.
Do not animate every section. If the motion competes with the message, reduce it or remove it.
How Do You Keep Webflow Animations Performant?
Keep the movement short, animate only what needs to move, and test the published page on real devices.
Use transform and opacity changes where possible. Check for layout shifts, horizontal overflow, slow scrolling, and elements that remain hidden if the interaction does not run.
The page should remain usable when motion is reduced or disabled.
What Does My Video Tutorial Cover?
In the video tutorial above, I cover the Interaction panel and two practical scroll animations.
Here's the timeline:
- 00:35 - Animation fundamentals
- 01:56 - Interaction panel walkthrough
- 11:02 - Text reveal on scroll
- 15:14 - Image parallax while scrolling
The interface has changed since the video was recorded, but the underlying setup remains the same: choose a trigger, define an action, select the target, and test the result.
What Should You Check Before Publishing?
Before publishing, check that:
- The trigger starts at the correct point.
- The target element is correct.
- The initial state does not hide important content permanently.
- The animation works at every breakpoint.
- The page does not create horizontal overflow.
- The published version works on real devices.
- The interaction remains usable when motion is reduced or disabled.
Start with a simple reveal-on-scroll interaction. Once the relationship between triggers, actions, and targets is clear, use the same process to build parallax and more advanced scroll effects.
FAQs
Use Scroll Into View when an animation should play after an element enters the viewport. Use While Scrolling in View when the animation should follow the visitor's scroll position.
No. Classic Webflow Interactions are sufficient for simple reveals, fades, hover effects, and short scroll sequences. Use the GSAP workflow for split text, staggered sequences, scrubbed timelines, advanced targeting, or reusable animation controls.
Scroll Into View starts an animation when an element reaches a viewport threshold and then lets it play. While Scrolling in View ties the animation progress to scrolling, so it advances when visitors scroll down and reverses when they scroll back up.
Check that the correct trigger, action, and target are selected. Also confirm that the initial state is not permanently hiding the element, the interaction is applied at the correct breakpoint, and the published page works as expected.
Yes. Apply the interaction to a shared class or reusable target instead of configuring every element individually. This is useful for repeated text reveals, image effects, cards, and other page elements.